2620 fitting guide
Congratulations on purchasing your G8 Performance Pro Series 2620's. Myself and the G8 Team would like to extend you a warm welcome to the G8 family!
~ David Lee, founder, G8 Performance
1. How to trim the toe area only (1 min, 44 secs)
📌 IMPORTANT: Do not trim below the guide marks!
A) Remove your current insole/insert from your shoe.
B) Using your old shoe insert as a template, lay your old left insole over your new left 2620.
C) Starting at the top (i.e. the toe area - no lower), carefully trim your left 2620 to size using large, sharp scissors exactly matching the shape of the toe area of your old insole.
D) Now, repeat the steps with the other insole.
Don’t worry if you feel the insole is too wide - it can flex to curve snugly up the side of your shoe and this won’t affect the insole’s performance at all.
2. Fitting your 2620s (1 min, 46 secs)
Your left and right feet are individuals, just like you! It’s okay to have your arch pieces in slightly different positions - whatever works for you.
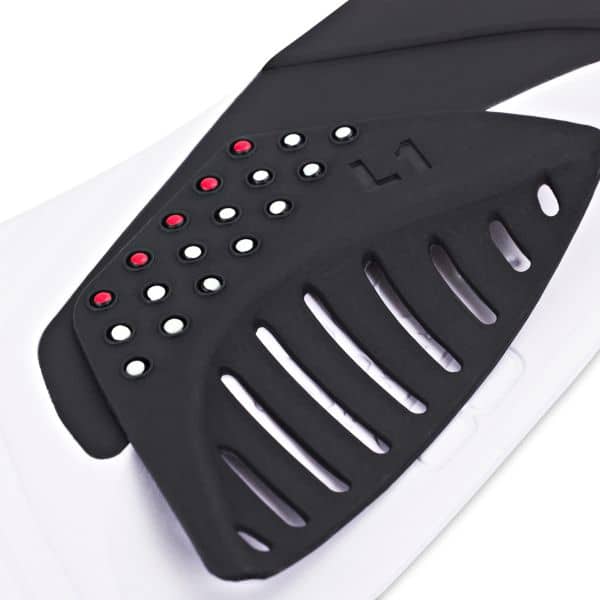
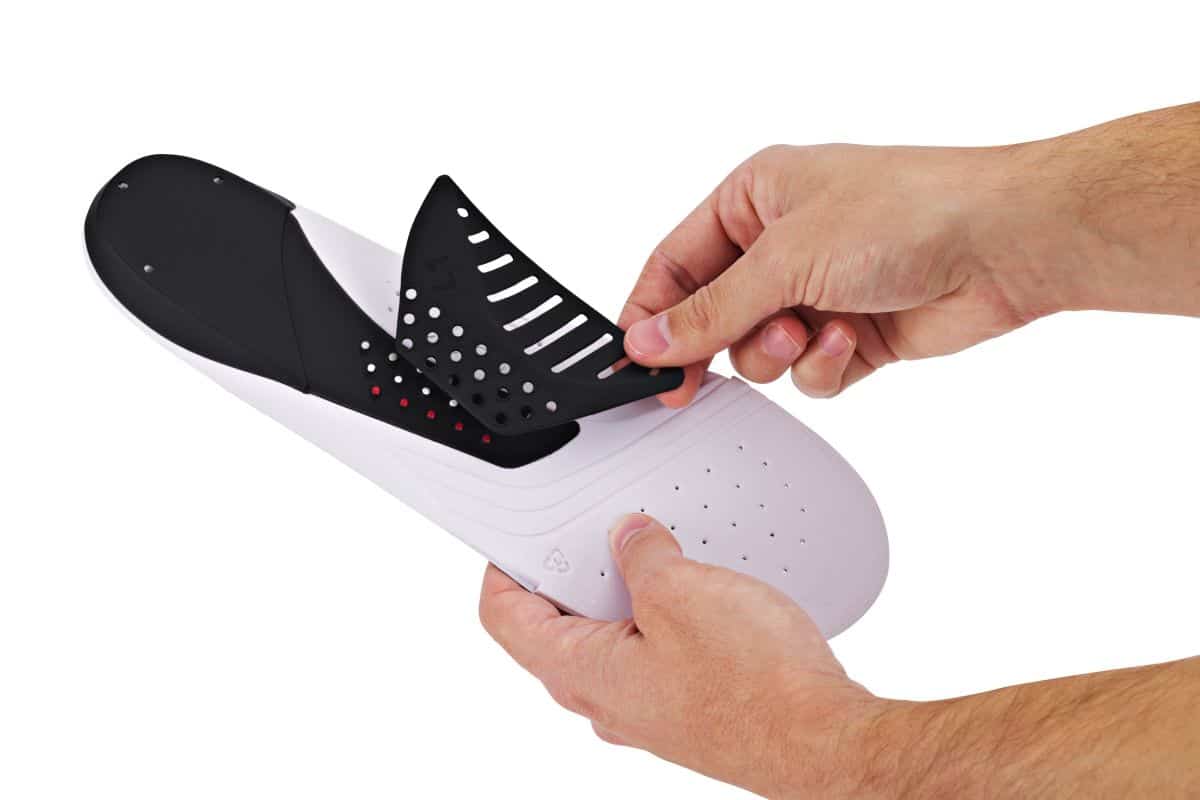
Attaching arch pieces
Here is a calibration exercise to help you figure out what’s most comfortable for you:
A) Attach the L1 arch piece (L = left) to the left foot insole all the way forward (in this position there will be two rows of holes not attached to the pegs, and the arch piece will line up with the curved ridge of the insole).
B) Attach the R1 arch piece to the right foot insole 1-2 rows back from the most forward position...
C) Place the 2620s into your shoes.
D) Walk around for 1 minute.
E) Decide which foot feels best - you should be able to feel the arch piece is there, but it shouldn’t feel intrusive.
F) Now adjust the other foot’s arch piece to match.
G) Once you think you are all set up, take one of the 2620's out and put your original insole back in.
Walk around like this for around 30 seconds to 1 minute. This will reset the central nervous system and help your feet accept future adjustments.
Then, put your 2620 back in.
3. Why so many arch pieces? (50 secs)
The 2620 Concept
Our feet are biomechanically designed to be free and move dynamically – the opposite of being constricted inside a rigid shoe.
2620s allow your foot to move as if it was bare and free while you’re wearing your shoes.
While many insoles and orthotics on the market restrict foot movement, we encourage it!
2620s are specially designed to strengthen your foot muscles
Stronger feet mean increased blood flow, more power, better balance and better overall long term health.
2620s are not designed to be a ‘quick fix’. Instead, they are designed to increase foot strength and health in the long term.
This said; many people do experience immediate relief and benefits.
Adjust as your feet strengthen
2620’s are fully customizable. They can be quickly and easily adjusted as your feet strengthen.
Many 2620 users report increased performance and endurance over time.
4. Why the arch piece goes forward. (1 min, 17 secs)
5. Replacing one shoe with an old insole helps reset the receptors in the foot after fitting G8 2620s (55 seconds)
Okay so now what?
You’ve started with the lowest arch pieces that are comfortable for you.
You’ll be ready for your first adjustment around the 6-8 week mark.
Once you’ve used all of the forward positions in the level 1 arches, it’s time to select a higher arch piece.
This time, you’ll start midway on the pegs so your feet can get used to the change, then progressively move the arch piece forward as your feet strengthen.
6. When to adjust your 2620s
Below is an example of an adjustment where the two feet (left and right) were set up differently to each other to accommodate to the individual needs of each foot:
6. How to adjust your G8 2620s after 6 - 8 weeks of use (1 min, 39 secs)
When do I stop? What’s the right height for me?
The highest arch you use will be governed by your individual foot structure and anatomy, so don't be afraid to experiment!
If you’re flat footed, you might stay on Level 1 (L1 and R1) or progress to Level 2 (L2 and R2).
If you have a naturally high arch, you may start on Level 2 (L2 & R2) and progress up to Levels 3, 4 or 5.